How to Buy and Store NFTs with MetaMask
A complete walkthrough of the MetaMask wallet, buying or receiving ETH & buying and storing Non-Fungible Tokens.
Created by Consensys and launched in September 2016, MetaMask is considered to be the best wallet for interacting with decentralised applications and the most popular wallet for buying and storing NFTs.
As a web 3.0 wallet, MetaMask allows you to authorise your Ethereum account by interacting with NFT marketplaces such as OpenSea, Rarible and SuperRare to buy, sell and trade these tokens.
In this guide, we’ll provide a complete walkthrough of getting MetaMask, buying or receiving ETH using the browser-based wallet as well as buying and storing Non-Fungible Tokens.
Downloading MetaMask
You can download MetaMask on several browsers (such as Brave, Google Chrome, Edge and Firefox) as well as Android or iOS mobile devices from the wallet’s website. Click on ‘Install MetaMask’.
A new tab will open and you’ll be able to add MetaMask to your browser. Once you’ve added MetaMask, you'll see a fox icon in the toolbar of your browser. Click on ‘Get Started‘ and choose from two options: import a wallet or create a new wallet.
If you’ve used MetaMask before, you’ll already have a secret recovery phrase, which can restore your wallet on any device by importing the seed phrase. Otherwise, you can create a new wallet, after which you can agree or decline the request for user data.
Then you’ll have to create a password and agree to the Terms of Use. The site then displays a short video about how to secure your wallet. Once you’ve watched the video, click on ‘Next’.
You’ll then get your secret backup phrase. It’s important to keep this safe and never share it with anyone, since this unique phrase can restore your account and be used to gain access to any funds stored in your Ethereum address via MetaMask.
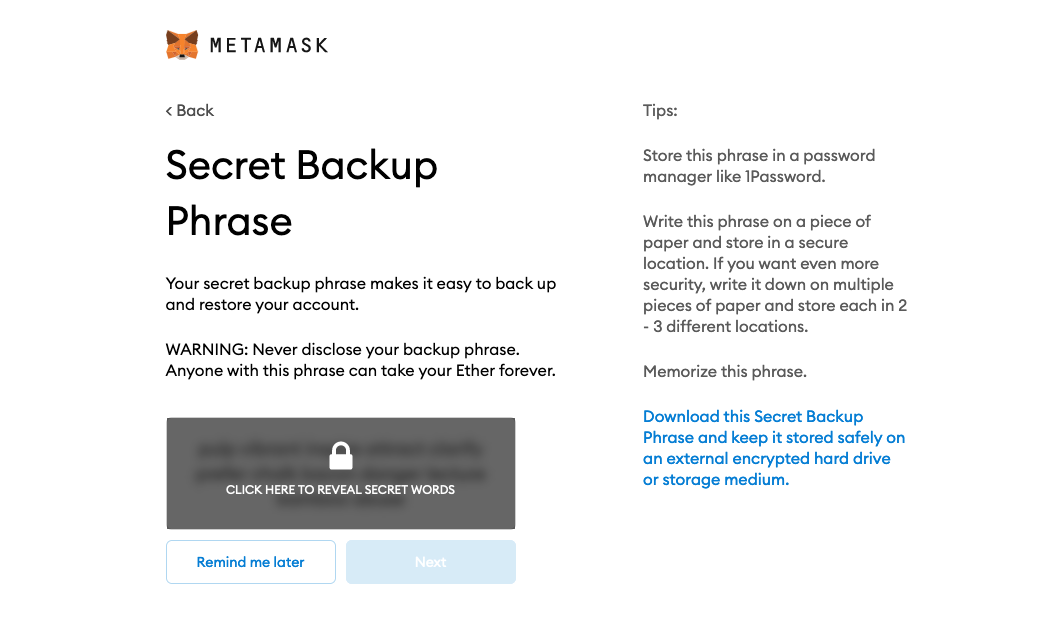
Reveal the secret words, make a note of them and keep it in a secure place. Once you’ve written your secret backup phrase, click on ‘Next’. You’ll then have to confirm your secret backup phrase by clicking on the words displayed in the blue boxes in the correct order.
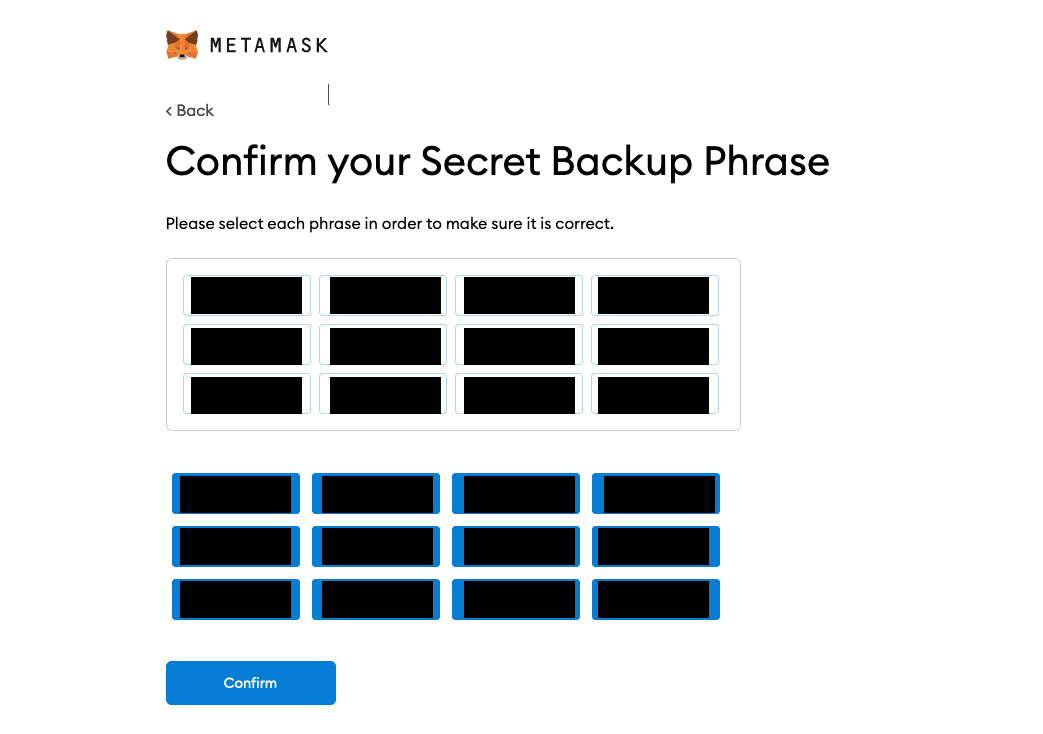
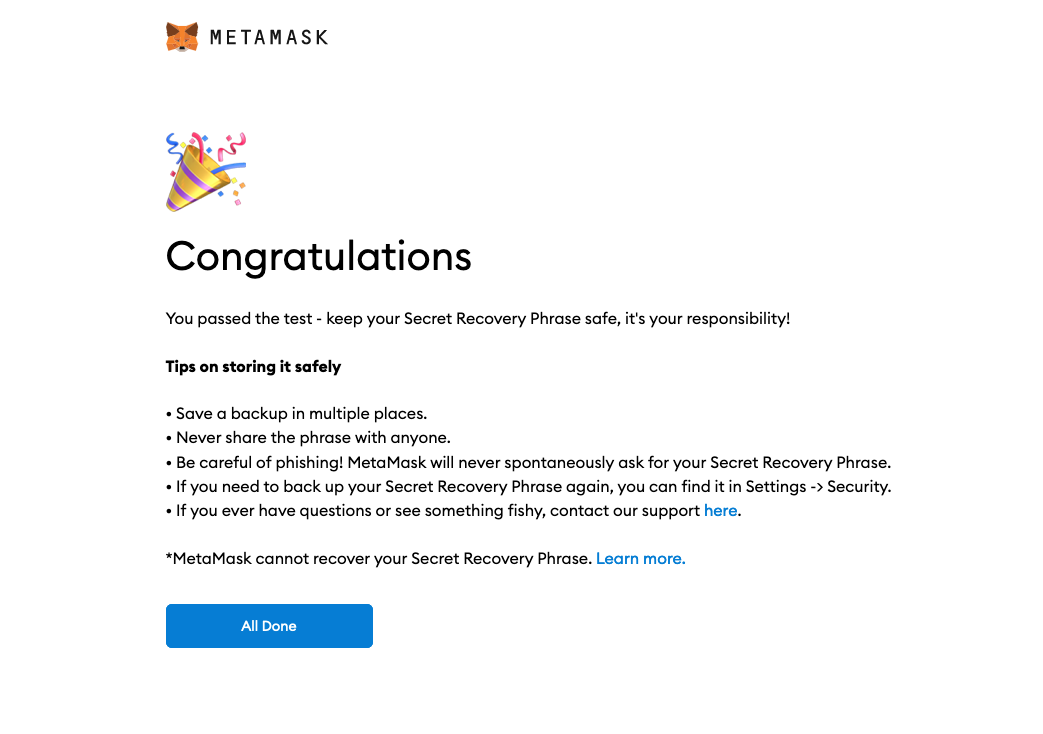
Once done, click on ‘Confirm’. You’ll then see some tips on storing your secret recovery phrase safely. Click on ‘All Done'.
From MetaMask's menu, you can change the settings such as your preferred currency/language, add contacts, view your secret recovery phrase, manage the security/privacy settings and add other networks that are compatible with the Ethereum Virtual Machine (such as Avalanche or Polygon). The menu also allows you to connect your MetaMask with hardware wallets such as Ledger or Trezor.
Funding Your MetaMask Wallet with ETH
Now your MetaMask wallet is all setup, you’ll be able to buy or transfer ETH to your account. Click on 'Buy' to add ETH to yout wallet using a debit card via Wyre.
Once you click on ‘Continue to Wyre’, a new tab will open and you can input the amount of ETH you want to buy, select from Apple Pay or make a payment with your card. You’ll then have to enter your card information, billing address and contact details.
After entering your details, your order will be processed and you’ll receive a notification about your ETH purchase detailing how many coins you have bought. You can then close the window or track your transaction status.
If you already hold ETH, you can copy your account’s Ethereum address (shown below) and use it as the receiving address when transferring ETH:
Buying and Storing NFTs with MetaMask
Now you know how to add ETH to your MetaMask account, we’ll show you how to buy and store an NFT. In this example, we’ll purchase a cheap NFT from OpenSea to illustrate how MetaMask works.
Once you navigate to OpenSea or any other NFT marketplace, you’ll first have to connect your MetaMask wallet and authorise your Ethereum account. Go to 'Connect’ on the top right-hand side of the site to link your MetaMask wallet.
You’ll then be able to buy an NFT from the marketplace, provided you have enough ETH. Go to the marketplace to see which NFTs are available to buy:
Once you've found an NFT you want to purchase, click on it. To illustrate, we'll purchase an NPC NFT. Check the price and click on 'Buy now'. Check the box to confirm you've reviewed the information about the NFT you want to buy, then agree to the terms of service and go to 'Checkout'.
The MetaMask wallet will open and you'll be asked to confirm the transaction details. To purchase an NFT, you'll have to pay a gas fee which is shown in MetaMask, along with the total amount. You can adjust the gas fee as shown below. Click on 'Confirm' to proceed with the purchase or click on 'Reject' if the gas fee is too high and you want to try again when Ethereum fees are lower.
You'll then have to wait some time for the transaction to be processed on the blockchain.
Once confirmed, you can retrieve the NFT's contract address from EtherScan and add the token to MetaMask to view your NFT within the wallet (as illustrated by the video above). Your NFT is now stored in your Ethereum address and accessible via MetaMask!
If you found this guide useful, please share it with others on social media! Have any other questions about MetaMask or NFTs? Let us know via Discord on or Twitter!
-The Rollbit Team